Blog
What Happens When You Over-Dry Biltong and How to Prevent It


The Signs Your Biltong Has Gone Too Far
That moment when you reach for a piece of biltong, and it feels more like chewing on leather than enjoying a flavorful snack – you’ve crossed the line from perfectly air-cured to overdone. While traditional air-curing creates the ideal chewy texture we all love, pushing the process too far turns your premium South African snack into something that belongs in a museum rather than in your mouth.
Understanding the warning signs of over-dried biltong isn’t just about salvaging your current batch. It’s about mastering the delicate balance that separates exceptional South African Beef Biltong from expensive jerky-textured mistakes. The difference between perfectly cured and overdone often comes down to recognizing subtle changes before they become irreversible problems.
Visual Clues That Point to Over-Drying
Your eyes provide the first defense against over-dried biltong. Properly cured biltong maintains a rich, deep color that reflects its natural moisture content and the spices used during preparation. When biltong starts crossing into over-dried territory, the surface takes on a distinctly darker appearance than intended.
Look for an almost black exterior that appears overly hardened or shiny. This surface change happens when moisture evaporates too quickly, leaving behind concentrated proteins and spices that create an unnatural shell. The meat should retain some flexibility in its appearance; over-dried pieces look rigid and brittle, almost like thin pieces of wood.
White deposits or crystalline formations on the surface often indicate excessive moisture loss. These aren’t the natural salt crystals you might expect, but rather protein deposits that emerge when the drying process removes too much of the meat’s natural juices. Fresh biltong should have a uniform color throughout, while over-dried versions show stark color variations between the exterior and interior.
Texture Changes That Signal Problems
The texture test reveals everything about your biltong’s condition. Properly cured biltong yields slightly when pressed but springs back, maintaining that signature chewy consistency. Over-dried biltong feels completely rigid under pressure, offering no give whatsoever.
When you attempt to tear or bite into over-dried biltong, it requires excessive force. Instead of the satisfying resistance of well-cured meat, you’re fighting against what feels like jerky that’s been left in the desert. The meat should separate cleanly along its natural grain patterns, but over-dried versions often crack or splinter unpredictably.
Running your fingers along the surface reveals another telling sign. Properly cured biltong feels slightly tacky to the touch – not wet, but with enough remaining oils to create subtle adhesion. Over-dried biltong feels completely dry and often powdery, leaving residue on your fingers from the dehydrated exterior.
How Over-Dried Biltong Affects Flavor Profile
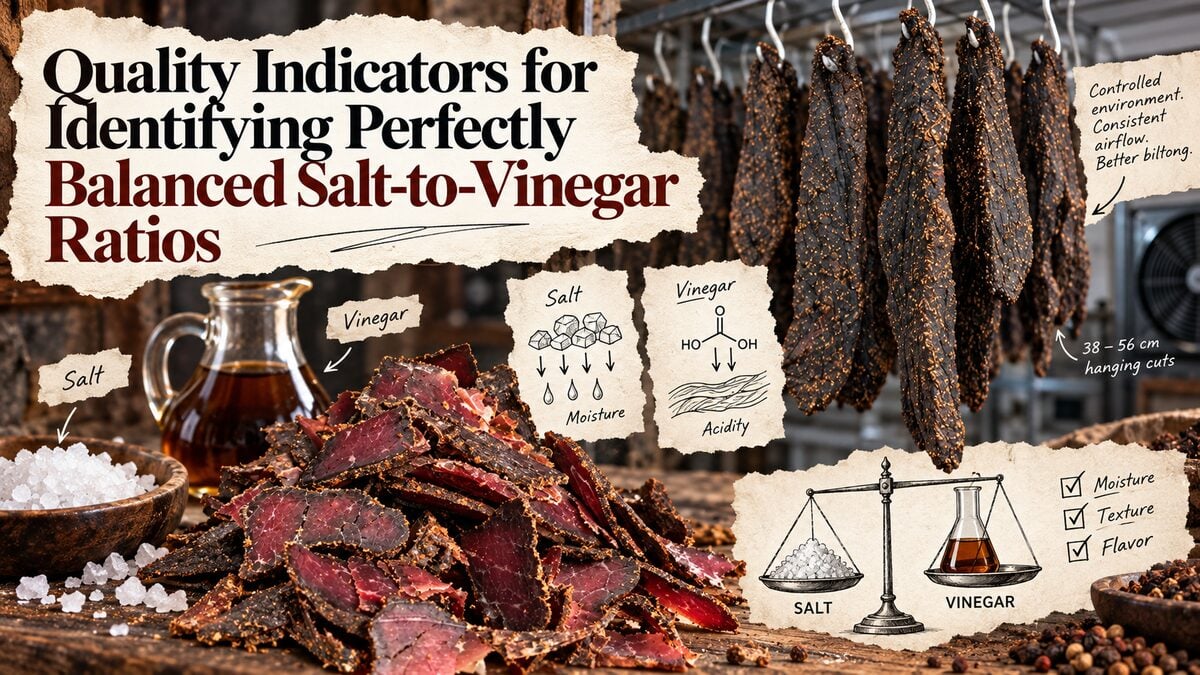
The flavor consequences of over-drying extend far beyond simple dryness. While traditional South African biltong should create complex, layered tastes, over-drying concentrates these flavors to an almost overwhelming degree. What should be a balanced blend of coriander, salt, and natural beef flavors becomes an assault of concentrated saltiness.
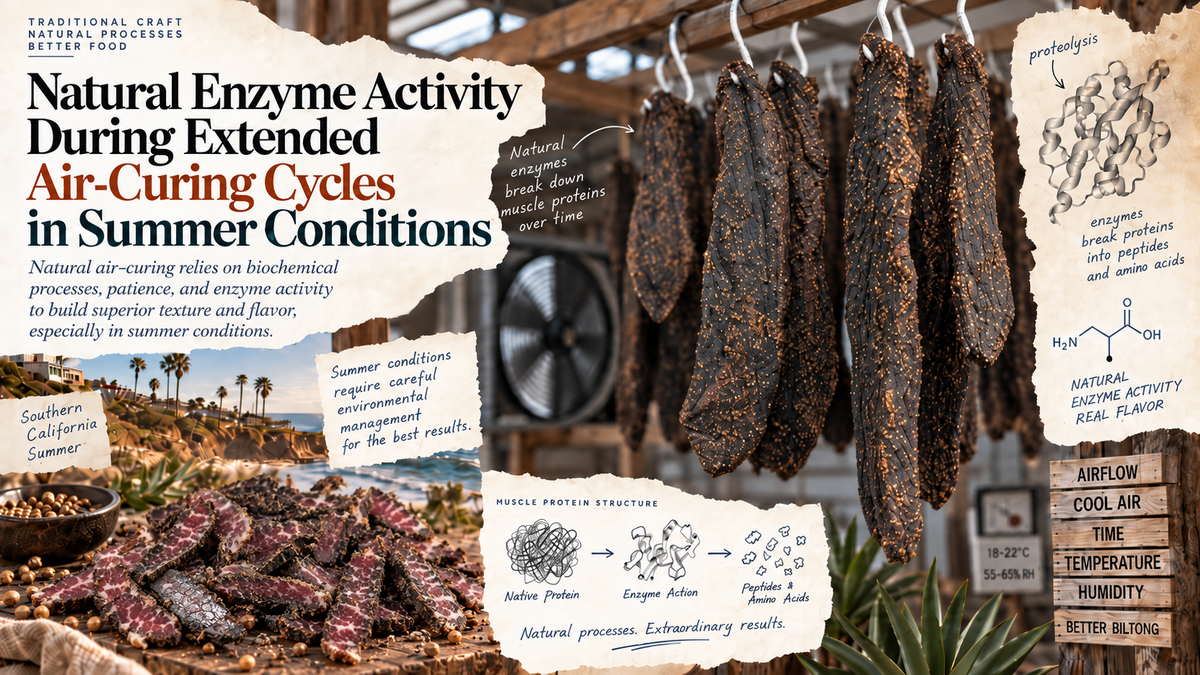
Over-dried biltong loses the subtle umami notes that develop during proper air-curing. The natural enzymes that break down proteins and create those deep, satisfying flavors can’t function effectively when moisture levels drop too drastically. Instead of the rich, complex taste profile that makes biltong special, you’re left with one-dimensional saltiness.
The finish changes dramatically, too. Quality biltong leaves a pleasant, lingering taste that makes you reach for another piece. Over-dried versions create an unpleasant aftertaste that coats your mouth, often accompanied by an almost medicinal quality that comes from concentrated preservatives and over-concentrated spices.
When Dry Becomes Dangerous for Your Teeth
Beyond flavor and texture issues, over-dried biltong poses genuine risks to your dental health. Excessive hardness can damage dental work, particularly crowns, fillings, and bridges, which weren’t designed to withstand such extreme pressure. Even healthy teeth can chip or crack when they encounter biltong that’s become too rigid.
Consider the jaw strain involved in processing overly tough biltong. What should be an enjoyable snacking experience becomes a workout for your jaw muscles, potentially leading to TMJ issues or general jaw fatigue. Quality biltong requires minimal effort to enjoy – if you’re working too hard to chew it, something has gone wrong in the curing process.
What Actually Happens During the Over-Drying Process
The Science Behind Moisture Loss in Biltong
Traditional air-curing works through a controlled dehydration process in which moisture naturally migrates from the meat’s interior to its surface, where it evaporates into the surrounding environment. During proper biltong production, this happens gradually over 5-8 days, allowing the meat fibers to contract slowly while maintaining their structural integrity.
When over-drying occurs, this delicate balance gets disrupted. The meat continues to lose moisture well beyond the optimal 30-40% moisture content that creates the perfect biltong texture. Instead of stopping at the sweet spot where air-drying beef achieves that characteristic firm-yet-tender bite, the process continues until moisture levels drop to 15-20% or lower.
Temperature and airflow become critical factors here. In Carlsbad’s dry climate, even small increases in drying temperature can dramatically accelerate moisture loss. What should take days can happen in hours, creating meat that’s technically preserved but completely wrong in texture and flavor development.
How Extended Drying Breaks Down Meat Fibers

Infographic showing how over-drying biltong affects meat texture, making it tough, brittle, and salty instead of tender and flavorful.
The cellular structure of beef changes fundamentally during extended drying periods. Muscle proteins begin to denature more aggressively, causing the meat fibers to contract beyond their natural elasticity. Think of it like overcooking a steak, but in slow motion over several days.
Collagen, which normally contributes to biltong’s pleasant chewiness, breaks down improperly without adequate moisture. Instead of creating the tender bite that makes South African Beef Biltong so distinctive, you get brittle strands that crumble rather than tear cleanly between your teeth.
The amino acid structure also suffers during over-drying. Proteins that should remain intact begin to fragment, which explains why over-dried biltong often develops a chalky, powdery texture on the surface. This isn’t just cosmetic damage either – it fundamentally changes how the meat behaves when you chew it.
Salt crystals, which normally integrate smoothly into properly dried meat, become more prominent and harsh-tasting as moisture decreases. The seasoning, meant to enhance the beef’s natural flavors, instead dominates because there’s not enough moisture left to create a proper flavor balance.
Why Over-Dried Biltong Loses Its Traditional Character
Authentic biltong depends on achieving what South African producers call the “perfect chew” – that satisfying resistance that gives way to release rich, concentrated beef flavors. Over-drying destroys this completely, replacing it with something closer to beef jerky’s tough, fibrous texture.
The traditional air-curing process develops complex flavors through enzymatic activity that requires specific moisture levels to function properly. When meat becomes too dry, these natural enzymes can’t complete their work, leaving you with one-dimensional flavor profiles instead of the deep, nuanced taste that characterizes quality biltong.
Visual cues change dramatically, too. Properly dried biltong retains a deep, rich color and has slight flexibility when bent. Over-dried pieces look faded, almost grayish, and snap cleanly rather than bend. The surface often develops white salt deposits or appears dusty – clear signs that moisture has been extracted too aggressively.
Even the aroma suffers. Fresh thick-cut biltong should smell rich and meaty with hints of coriander and vinegar. Over-dried versions smell flat, sometimes slightly bitter, because the volatile compounds that create appealing aromas need moisture to develop properly.
The Point of No Return in the Drying Process
There’s a critical window in biltong production when you can still rescue pieces drying too quickly. Once moisture content drops below about 25%, though, the textural damage becomes irreversible. The meat fibers have contracted too much to ever regain their proper bite.
Professional producers recognize this point through touch and flexibility testing. Properly dried biltong should still have some give when pressed gently; not squishy, but not rock-hard either. When pieces start feeling completely rigid throughout, they’ve crossed into over-dried territory.
Time factors vary dramatically based on cut thickness, ambient humidity, and airflow. In Escondido’s drier inland climate, thin-cut pieces might hit this point of no return within 48 hours if conditions aren’t carefully controlled. Thicker cuts have more margin for error but can still be ruined by prolonged drying.
The economic impact matters too. Over-dried biltong often gets discarded or heavily discounted because it doesn’t meet quality standards. Understanding where this line exists helps prevent waste and ensures consistent results that match traditional South African standards.
Mastering Your Drying Environment for Perfect Results
Temperature and Humidity Sweet Spots
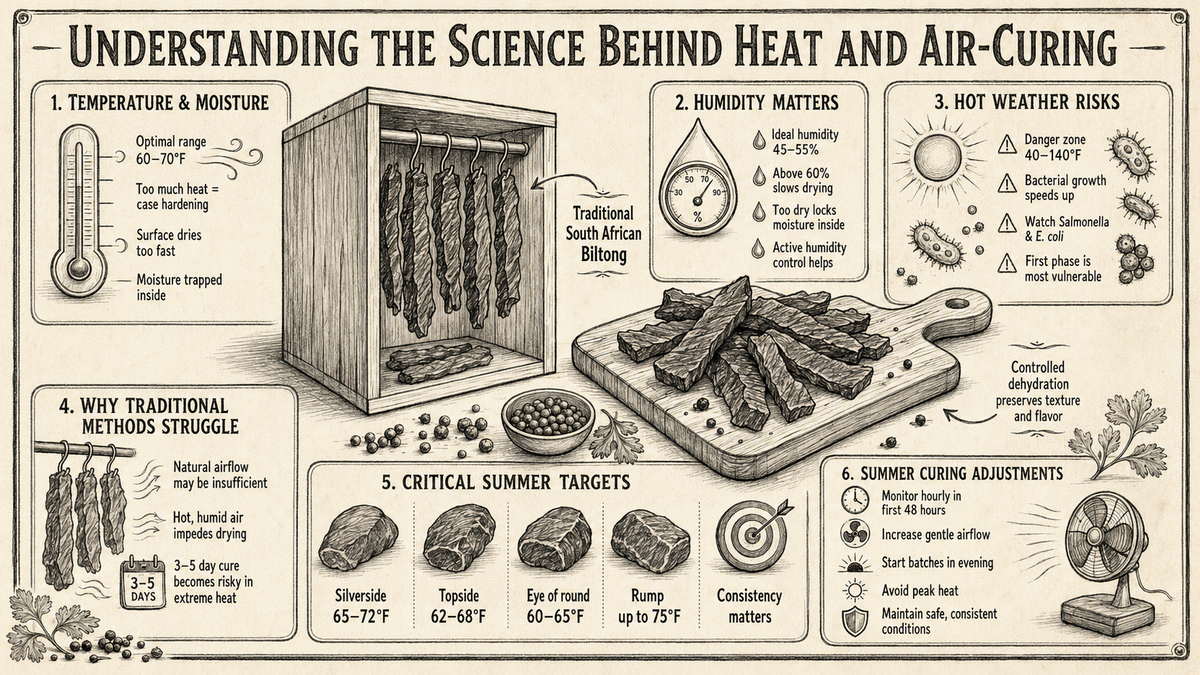
Getting your temperature and humidity just right makes the difference between perfectly textured biltong and over-dried leather strips. The magic numbers sit between 60-70°F (15-21°C) for temperature and 40-60% relative humidity. Too hot, and your biltong races through the drying process without developing proper flavor complexity. Too humid, and you’re inviting unwanted bacterial growth that can ruin your entire batch.
Here’s what many homemakers get wrong: they assume warmer equals faster equals better. But traditional South African biltong relies on controlled, gradual moisture removal that preserves the meat’s natural texture and taste. When temperatures spike above 75°F, the outer layer forms a hard shell while the interior remains too moist, creating uneven drying that leads to either spoilage or that dreaded cardboard consistency.
Monitor both metrics with a digital hygrometer (around a $15 investment that saves dozens of ruined batches). During Carlsbad’s warmer months, you might need to move your drying setup to a cooler room or use a small dehumidifier to maintain optimal conditions.
Air Circulation Techniques That Work

Illustrated guide showing airflow techniques to prevent over dry biltong and ensure even, gentle drying for tender results.
Stagnant air creates hot spots and moisture pockets that guarantee uneven drying. Your biltong needs consistent, gentle airflow across all surfaces to prevent those tough, over-dried edges while maintaining perfect texture throughout. A simple box fan positioned 3-4 feet away provides adequate circulation without creating harsh wind that can case-harden the meat’s exterior.
The key lies in indirect airflow patterns. Position your drying rack perpendicular to the fan rather than directly in its path. This creates a swirling air current that reaches every strip without blasting them with concentrated force. Many successful biltong makers in the Escondido area use ceiling fans at low speed, combined with strategically placed oscillating fans, to maintain consistent air movement.
Check your setup by holding tissue paper near different areas of your drying space. The paper should flutter gently and consistently everywhere. Dead air zones spell trouble for even drying, while excessive wind creates that dreaded over-dried outer layer we’re trying to avoid.
Seasonal Adjustments for Consistent Quality
Southern California’s climate shifts demand different approaches throughout the year. Summer’s low humidity (often dropping below 30%) dramatically accelerates moisture loss, requiring shorter drying times and increased monitoring. Your usual 6-day drying schedule might need to be reduced to 4-6 days during peak summer conditions.
Winter brings higher humidity levels that slow the natural air-curing process. Rather than cranking up the heat (which creates uneven drying), extend your timeline and focus on maintaining steady airflow. December through February often requires 6-9 days for the proper development of South African beef biltong texture.
Spring’s variable weather patterns present the biggest challenge. Morning fog followed by afternoon heat creates humidity swings that can shock your meat. During these transitional months, check your biltong twice daily and be ready to adjust fan placement or move racks to different locations as conditions change.
Setting Up Your Drying Space Like a Pro
Location selection determines 80% of your success before you hang the first strip. Avoid kitchens (high humidity from cooking), bathrooms (obvious moisture issues), and areas with direct sunlight that cause temperature fluctuations. A spare bedroom, garage corner, or dedicated pantry space provides the stable environment traditional air-curing demands.
Vertical spacing matters more than most realize. Hang strips at least 2 inches apart to allow proper airflow between pieces. Overcrowding creates moisture pockets that lead to uneven drying and potential spoilage. Use wooden dowels or stainless steel rods (plastic retains moisture and odors), suspended from ceiling hooks or a simple frame.
Keep a detailed log during your first few batches: temperature readings, humidity levels, drying times, and final texture results. This creates your personal baseline for achieving consistent quality regardless of seasonal variations. Once proper storage techniques become second nature, you’ll develop an intuitive sense of when conditions are ideal for starting a new batch.
Remember that patience beats haste every time. Rushing the process with excessive heat or airflow virtually guarantees over-dried results that no amount of storage tricks can fix.
Timing and Testing Methods That Never Fail
The Finger Test for Perfect Doneness
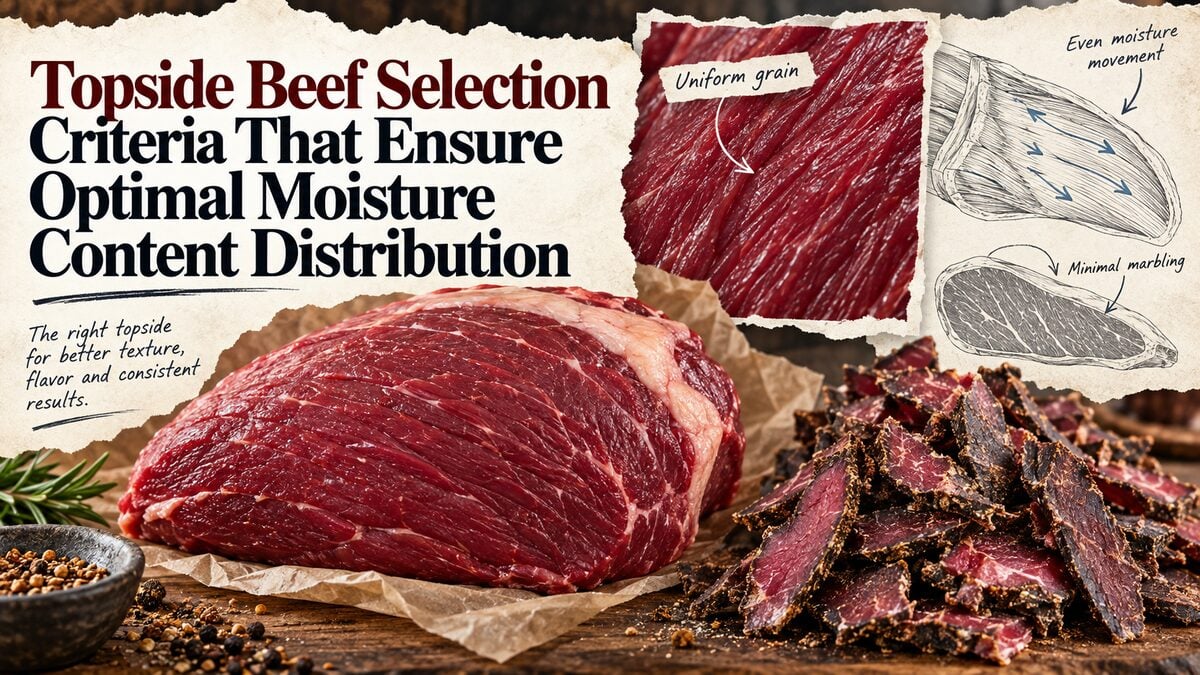
The most reliable method for checking biltong readiness is the gentle finger press test. When you press the surface of properly dried biltong, it should feel firm but still yield slightly under pressure. The texture should remind you of a well-aged cheese rather than a piece of rubber.
For traditional cuts, the meat should spring back slowly when pressed, indicating moisture has been removed while maintaining the natural protein structure. If the surface feels spongy or wet, your biltong needs more drying time. However, if it feels rock-hard and doesn’t give at all under pressure, you’ve likely crossed into South African beef biltong that’s becoming over-dried.
The edges provide another excellent indicator. Properly dried biltong will have slightly darker edges that feel firm but not brittle. When you bend a piece gently, it should flex without cracking immediately. This flexibility indicates the traditional air-curing process has preserved the meat’s natural structure while removing excess moisture.
Weight Loss Guidelines for Different Cuts
Understanding weight-loss percentages helps prevent over-drying biltong by providing measurable benchmarks. Silverside and topside cuts typically lose 60-65% of their original weight during proper air-curing. This means a 100-gram piece should weigh approximately 35-40 grams after drying.
Eye of round cuts tend to lose slightly more moisture, reaching 65-70% weight reduction due to their denser muscle structure. If your biltong has lost more than 75% of its original weight, you’re entering dangerous territory where the meat becomes tough and loses its characteristic texture.
Weighing your biltong every 24 hours during the drying process creates a reliable tracking system. Most cuts reach their optimal weight loss after 4-6 days in proper drying conditions. The weight loss should slow dramatically after day three or four, with only minimal changes occurring in the final stages.
Recording these measurements helps you understand how different environmental conditions in your area affect drying times. Humidity levels in Carlsbad can vary seasonally, making weight tracking especially valuable for consistent results.
How Thickness Affects Drying Time

Illustrated guide showing how meat slice thickness affects drying time to prevent over dry biltong.
Thickness dramatically impacts how quickly moisture leaves the meat, making it a critical factor in preventing overdrying. Standard biltong strips cut to 1/2 to 1 inch thick typically dry completely in 4-6 days under optimal conditions. Thicker cuts may require 6-8 days but offer more timing forgiveness.
Thinner strips (under 1 inch) dry much faster but require constant monitoring to prevent them from becoming over-dried within just 2-3 days. These strips can go from perfectly tender to tough and chewy in just 12-24 hours once they reach the optimal moisture level.
The surface-to-volume ratio explains why thickness matters so much. Thinner pieces have more surface area relative to their mass, allowing moisture to escape more rapidly. This accelerated drying means you have a smaller window to catch the perfect doneness before the meat becomes too dry.
Creating uniform thickness across all your pieces ensures even drying and reduces the risk of some strips becoming over-dried while others remain underdone. A sharp knife and steady cutting technique make this consistency much easier to achieve.
Creating a Reliable Testing Schedule
Establishing a systematic testing routine prevents the disappointment of discovering over-dried biltong too late. Start checking your biltong on day two, then test twice daily from day three onward using both the finger test and weight measurements.
Morning and evening checks work well because they account for daily fluctuations in temperature and humidity that affect drying rates. Document your observations in a simple log, noting texture, weight, and environmental conditions for each batch.
The key window for most cuts falls between days 4-6, when the meat transitions from properly dried to potentially over-dried. During this critical period, checking every 8-12 hours helps you catch the perfect moment when the biltong reaches optimal texture and flavor development.
Environmental factors in your drying area should influence your testing schedule. Higher humidity requires longer drying times and more frequent monitoring, while very dry conditions accelerate the process and demand closer attention to prevent overdrying. Understanding these variables through consistent testing helps you develop an intuitive sense for timing that improves with each batch.
Rescue Strategies for Over-Dried Biltong
Steam Revival Techniques That Actually Work
When your biltong feels like leather, a steam revival can restore some moisture and tenderness. The key is gentle, controlled rehydration that doesn’t compromise food safety or create conditions for spoilage.
Place over-dried pieces in a steamer basket over boiling water for 30-60 seconds at most. The steam should barely touch the surface without making it wet. You want to soften the exterior while maintaining the firm interior that defines proper South African beef biltong.
Another effective method involves wrapping pieces in slightly damp paper towels, then placing them in a sealed container for 2-3 hours. Check every hour to prevent over-softening. This gradual approach works better than aggressive rehydration attempts that can create uneven texture.
Temperature control remains critical during revival. Keep everything below room temperature to prevent bacterial growth. If pieces feel slimy or develop off-odors during the process, discard them immediately.
Creative Ways to Use Over-Dried Pieces

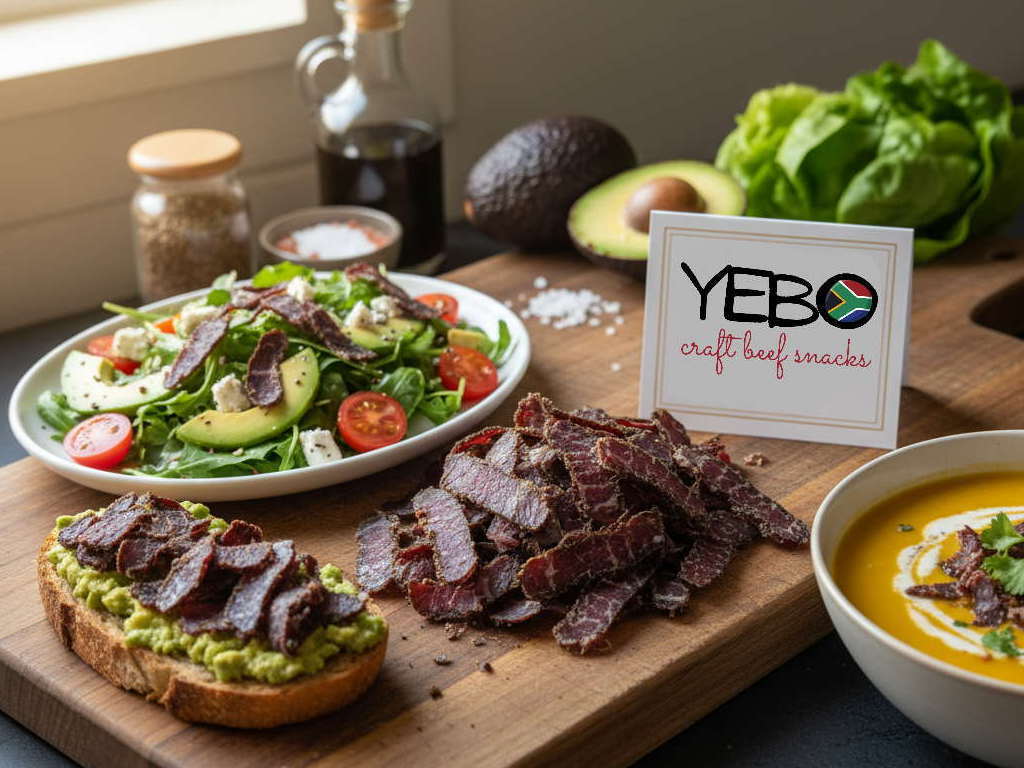
Creative ways to use over dry biltong, from salad toppers to biltong powder, turning tough pieces into flavorful seasoning and cooking enhancements.
Over-dried biltong doesn’t have to become waste. These tough pieces often have concentrated flavor that works brilliantly in other applications where texture matters less than taste.
Chop over-dried pieces into small chunks for protein-packed salad toppings. The concentrated saltiness and umami flavors complement fresh greens perfectly. Many Carlsbad fitness enthusiasts use this approach when their home-dried experiments go too far.
Incorporate chopped pieces into scrambled eggs or omelets. The cooking process softens the texture while the intense flavor adds complexity. This works especially well for breakfast meal prep, where you want sustained protein release.
Create biltong butter by finely mincing over-dried pieces and mixing with softened butter, herbs, and spices. Spread on crackers or use as a unique compound butter for steaks. The contrast between creamy butter and concentrated meat flavors creates an interesting appetizer.
Soup applications work wonderfully, too. Add chunks to slow-cooking stews, where extended cooking time breaks down tough fibers and infuses the broth with rich, meaty flavor.
Making Biltong Powder from Mistakes
Over-dried biltong makes an exceptional seasoning powder that captures all the traditional flavors in a versatile form. This approach transforms mistakes into valuable cooking ingredients.
Start by cutting over-dried pieces into smaller chunks that fit your food processor. Pulse in short bursts to avoid forming a paste from residual fat. You want a fine, powdery texture similar to commercial meat seasonings.
The resulting powder works as an instant umami boost for vegetables, potatoes, or popcorn. A pinch adds complex depth to marinades and dry rubs. Store in airtight containers where it keeps for months without refrigeration.
Biltong powder also makes an excellent base for homemade seasoning blends. Mix with garlic powder, black pepper, and herbs for a unique all-purpose seasoning. Understanding our processes helps explain why properly dried meat creates such concentrated flavors.
Professional chefs increasingly use meat powders for finishing dishes. Your over-dried mistakes could become signature seasonings that friends request as gifts.
When to Start Over vs. When to Salvage
Knowing when to salvage versus when to start fresh prevents wasting time on lost causes while maximizing successful recoveries.
Salvage attempts work best when biltong is simply too dry but still maintains good color and pleasant aroma. If pieces bend slightly without cracking, steam revival or creative applications usually succeed.
However, pieces that have developed white mold, off-colors, or rancid odors should be discarded immediately. Over-drying sometimes masks early signs of spoilage, making these pieces unsafe regardless of any texture fixes.
Consider the time investment, too. If you have several pounds of over-dried biltong, processing it into powder or cooking applications might be worthwhile. For small batches, starting fresh often makes more sense.
Environmental factors matter in this decision. Humid coastal conditions in Escondido can make revival attempts riskier than in drier climates. Trust your senses overrules when evaluating whether pieces deserve rescue efforts.
Document what went wrong for future prevention. Many common questions about drying problems appear in our frequently asked questions section, helping you avoid repeated mistakes.
Remember that perfect biltong requires practice. Each failed batch teaches valuable lessons about timing, environment, and technique that improve future results.
Building Consistent Success Into Your Process
Record Keeping That Improves Your Results
The difference between occasional success and consistent perfection lies in documenting what works. Every batch teaches you something about your environment, your technique, and your equipment’s quirks.
Start with basic metrics that matter most. Record the ambient temperature and humidity when you begin drying, note the meat thickness (measured with a ruler, not guessed), and track total drying time from start to finish. When you achieve that perfect texture, you’ll want to replicate those exact conditions.
Environmental factors change seasonally, especially in coastal areas like Carlsbad, where ocean breezes can dramatically shift humidity levels. Your summer batches will behave differently from winter ones, and detailed notes help you adjust accordingly. Note whether your fan ran continuously or cycled, if you opened windows for airflow, and what the weather was like outside.
The most valuable records capture your mistakes alongside successes. When a batch comes out too dry, document everything: Was the meat cut thinner than usual? Did you extend drying time because it looked underdone? These failure points become your early warning system for future batches.
Equipment Upgrades That Make a Difference
Basic setups work, but targeted upgrades solve specific problems without breaking budgets. A digital hygrometer eliminates guesswork about humidity levels, while a small oscillating fan creates more consistent airflow than stationary models.
Temperature consistency matters more than most beginners realize. Room thermometers track ambient conditions, but infrared thermometers let you check the surface temperature of meat throughout the drying process. This helps you catch situations where external heat sources (like afternoon sun through windows) might unexpectedly accelerate drying.
Airflow improvements often provide the biggest return on investment. Adding a second fan for cross-ventilation prevents those frustrating scenarios where one side of your batch dries faster than the other. Position fans to create gentle circulation rather than direct blasting, which can cause uneven moisture loss.
Consider dedicated drying chambers if you’re serious about consistent results. Even a modified cooler with fans and ventilation holes provides better environmental control than open-air drying. The investment pays off through reduced waste and more predictable timing.
Traditional vs. Modern Drying Methods
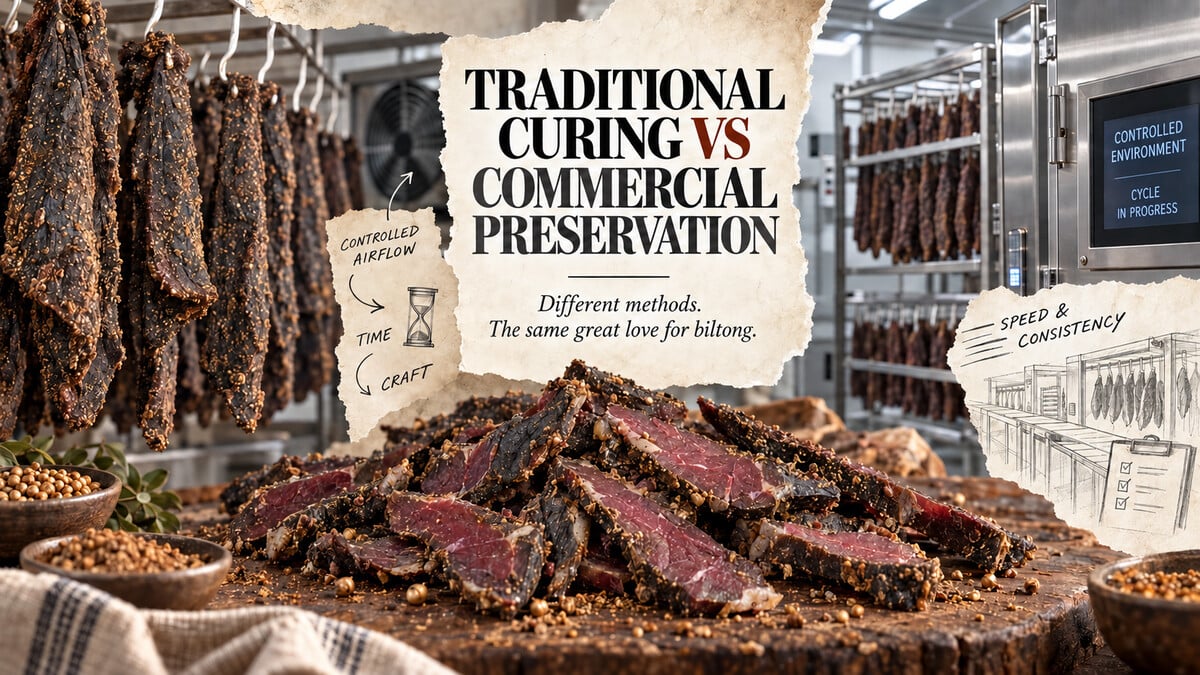
Traditional air-curing methods have been developed over generations in South Africa’s specific climate conditions. These time-tested approaches work beautifully when you can replicate similar environmental factors, but modern tools can help bridge the gap when your local conditions differ.
Classic hanging methods rely entirely on natural airflow and ambient conditions. This creates authentic flavor development and texture, but requires patience and environmental awareness. You’re working with nature rather than controlling it, which means accepting longer drying times and seasonal variations.
Modern approaches use controlled airflow, humidity management, and temperature monitoring to create more predictable results. Dehydrators and drying chambers let you maintain consistent conditions regardless of the weather, reducing the risk of overdrying due to environmental surprises.
The best approach often combines both philosophies. Use traditional hanging and natural airflow to develop flavor, but add modern monitoring tools to track progress and prevent issues. This hybrid method respects traditional techniques while minimizing the guesswork that leads to over-dried batches.
Troubleshooting Common Beginner Mistakes
New biltong makers typically rush the process, constantly checking and extending the drying time when batches don’t look “done enough.” This impatience leads directly to over-drying. Trust your timing estimates and resist the urge to add extra hours just to be safe.
Inconsistent cutting creates uneven drying, where thin pieces become jerky-like while thicker sections remain perfect. Practice your knife skills and aim for uniform thickness within each batch. Group similar-sized pieces together so you can remove them at different intervals if needed.
Poor ventilation causes surface drying while leaving interiors moist, creating false signals about doneness. When surface moisture disappears, but the center stays soft, beginners often continue drying until everything becomes too firm. Proper airflow prevents this deceptive surface drying.
Temperature fluctuations catch beginners off guard, especially when room conditions change during multi-day drying. Morning coolness, followed by afternoon warmth, can unexpectedly accelerate drying. Monitor conditions throughout the full cycle rather than just at the beginning.
Perfecting your biltong technique takes practice, but these systematic approaches eliminate most variables that cause over-drying. Whether you prefer traditional methods or modern tools, consistent monitoring and detailed record-keeping transform occasional successes into reliable results. Ready to create your own consistently perfect South African beef biltong? Start with careful documentation of your next batch and build your expertise one successful drying cycle at a time.